❌ 2. Using the Wrong Adhesive or Mortar
Why it’s a problem:
Not all adhesives are compatible with marble. Using a dark-colored or inappropriate mortar can stain light-colored marble tiles permanently.
What to do instead:
Use a white, non-staining thin-set mortar or one specifically labeled for natural stone. Avoid mastic adhesives for wet areas.
❌ 3. Poor Planning of Tile Layout
Why it’s a problem:
Improper layout leads to awkward cuts, misaligned veins, or wasted material. This can ruin the natural flow of the marble’s beauty.
What to do instead:
Lay out your tiles dry before installing. Plan vein direction (bookmatching, for example), joint lines, and transitions carefully.
Pro Tip: Always order 10–15% extra marble to account for breakage and layout flexibility.
❌ 4. Incorrect Grouting Technique
Why it’s a problem:
Grout haze on marble is difficult to remove and can dull the finish. Wide grout lines also detract from marble’s seamless appeal.
What to do instead:
Use unsanded grout for narrow joints and test grout on a spare tile first. Clean any excess grout immediately with a soft sponge.
❌ 5. Forgetting to Seal Before and After Installation
Why it’s a problem:
Marble is porous and can absorb water, oil, or grout, leading to staining and discoloration.
What to do instead:
Apply a penetrating sealer before grouting, and seal again after installation is complete. Re-seal every 6–12 months depending on traffic and usage.
❌ 6. Not Hiring a Skilled Installer (When Needed)
Why it’s a problem:
Marble is a premium material that demands precision. DIY attempts without experience often end in costly redos.
What to do instead:
If unsure, hire a professional stone tile installer with experience in marble. Ask to see previous projects.
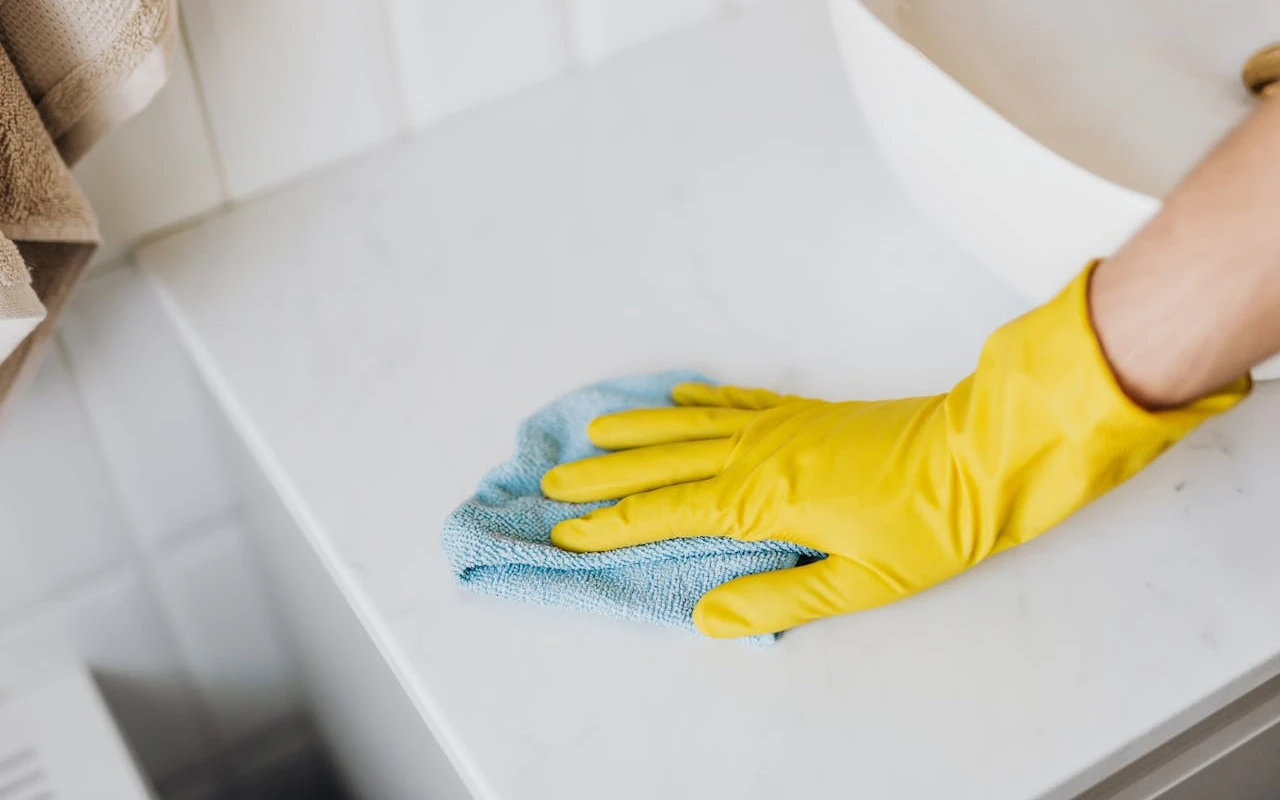
🧽 Maintenance Bonus: Keep Marble Looking New
Clean spills immediately
Use pH-neutral stone cleaners
Avoid vinegar, bleach, or acidic products
Use rugs in high-traffic areas
🏁 Conclusion
Marble tile installation is a rewarding project when done right—but skipping key steps can ruin the investment. By avoiding these common mistakes and following expert advice, you’ll preserve the elegance, value, and durability of your marble surfaces.
If you’re looking for marble installation inspiration, maintenance guides, or stone supplier tips, stay tuned to Stoneman Magazine—your daily stone design resource.
 Related Reads on Stoneman Magazine: